
ℹ️ 🛹 Web Média Skate 🛹 ℹ️

 Back
Tricks
The Ollie in 6 Steps: The Foundation You Need to Lock Down Before Anything Else
The Ollie in 6 Steps: Every failed attempt has a reason. Feet, flex, pop, here are the 6 stages in order, and the trap of each.
In 1978, Alan Gelfand, nicknamed « Ollie, » launched his board without hands. Since then, the ollie has been the foundation of street. But why does the board fall back when you think you’ve got it under control? The answer lies in a mistake everyone makes at the start.
So why does it keep falling, if you already know how to do it? It ain’t about talent, legs, or board. The answer’s one mistake almost everyone makes at the start—you get it after 6 steps and 4 fails.
Here are the 6 steps, in order, with the most common fails at each stage. Follow them to the letter, avoid the traps, and your ollie will become as solid as concrete.
Level
Beginner
Time
4-12h
Prereqs
Pushing, stopping
Surface
Smooth, flat ground
In this article 6 parts
The ollie: a trick invented with no ramp, back in 1978
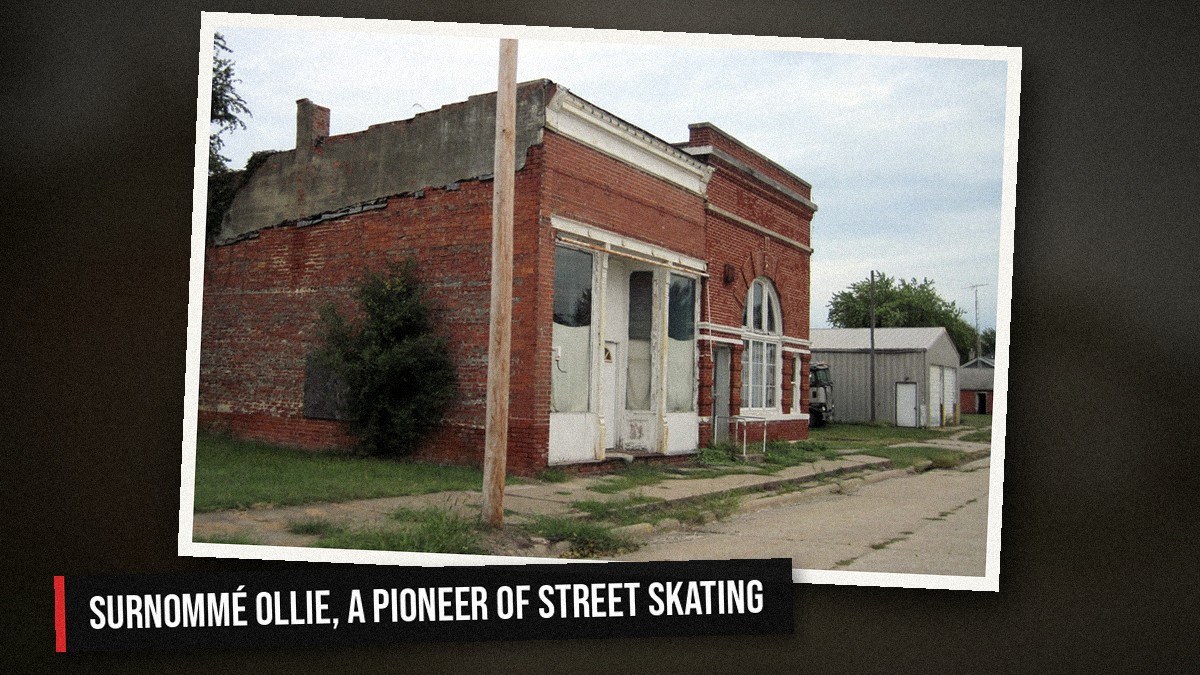

Before 1978, if you wanted your board in the air, you needed a ramp. Skating was bowls and half-pipes. Then Alan Gelfand — nicknamed « Ollie » — pulls off something nobody had seen in a Florida bowl: he takes the board up into the air with his feet still on it, no hands. The trick took his nickname. The ollie was born.
In 1982, at a contest in Whittier, California, Rodney Mullen nails an ollie on flat ground, flatland style, adapted from Gelfand’s version. The dude who also invented the kickflip just opened the door to street skating. Every curb trick you see today traces back to this. His full story, 34 wins out of 35 contests, is worth checking out.
So when you’re grinding on your ollie, you’re grinding the foundation of all street skating. It’s not just a beginner trick—it’s *the* trick. Not ready yet? Work on the hippie jump first to feel the air without the board popping off.
Read next: The perfect beginner setup for starting skateboarding in 2026.
The 6 steps to landing your first ollie

-
Foot positioning
Rear foot on the tail — the part that rises at the back of the board. Toes close to the edge. Front foot between the two middle bolts, slightly angled. Not at 90°, not parallel to the board either — somewhere in between. It feels weird at first. It’s normal, stick with it.
-
The flex: prep the pop
Bend your knees. Really. Not a micro bend — a real flex. That’s where all the power of the jump comes from. The lower you go, the higher your ollie will go. At first, do the static exercise: balance with the board without trying to jump, just to feel the position.
-
The pop: hit the tail
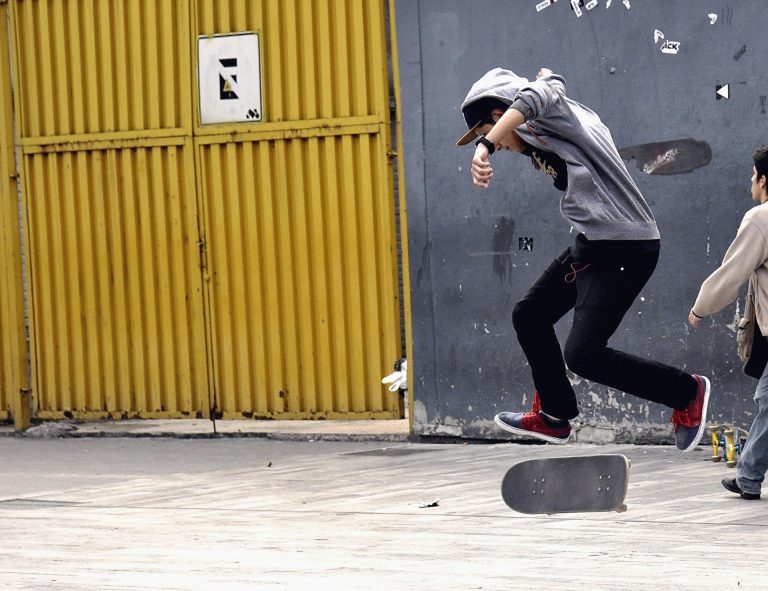
Press hard on the tail with your rear foot to strike the ground. Hear a sharp snap? Good. The board will lift off the nose side. That movement is called the pop — without it, there’s no ollie. It has to be quick and decisive, not hesitant.
-
The slide: lift the tail
Right after the pop — truly right after, not a second later — slide your front foot toward the nose. That’s what levels the board in the air. Not a kick, a slide. If you do it too late, the board stays planted on one side. If you do it too hard, it goes down. Finding the right timing is 80% of the trick.
-
The peak: board flat in the air
At the peak of the jump, the board has to be flat — parallel to the ground. Your feet stay on it, knees pulled up to your chest. If the board’s balanced between pop and slide, it happens naturally. If it always starts on one side, your slide’s too strong or too weak on that side.
-
Landing: hit the bolts
Aim for the bolts — where the trucks bolt onto the board. Both feet. Bend your knees on landing to absorb. If you touch the bolts and keep rolling, you’ve ollied. Real talk. The first time it lands clean, you’ll never forget it.
The 4 classic fails and how to fix them
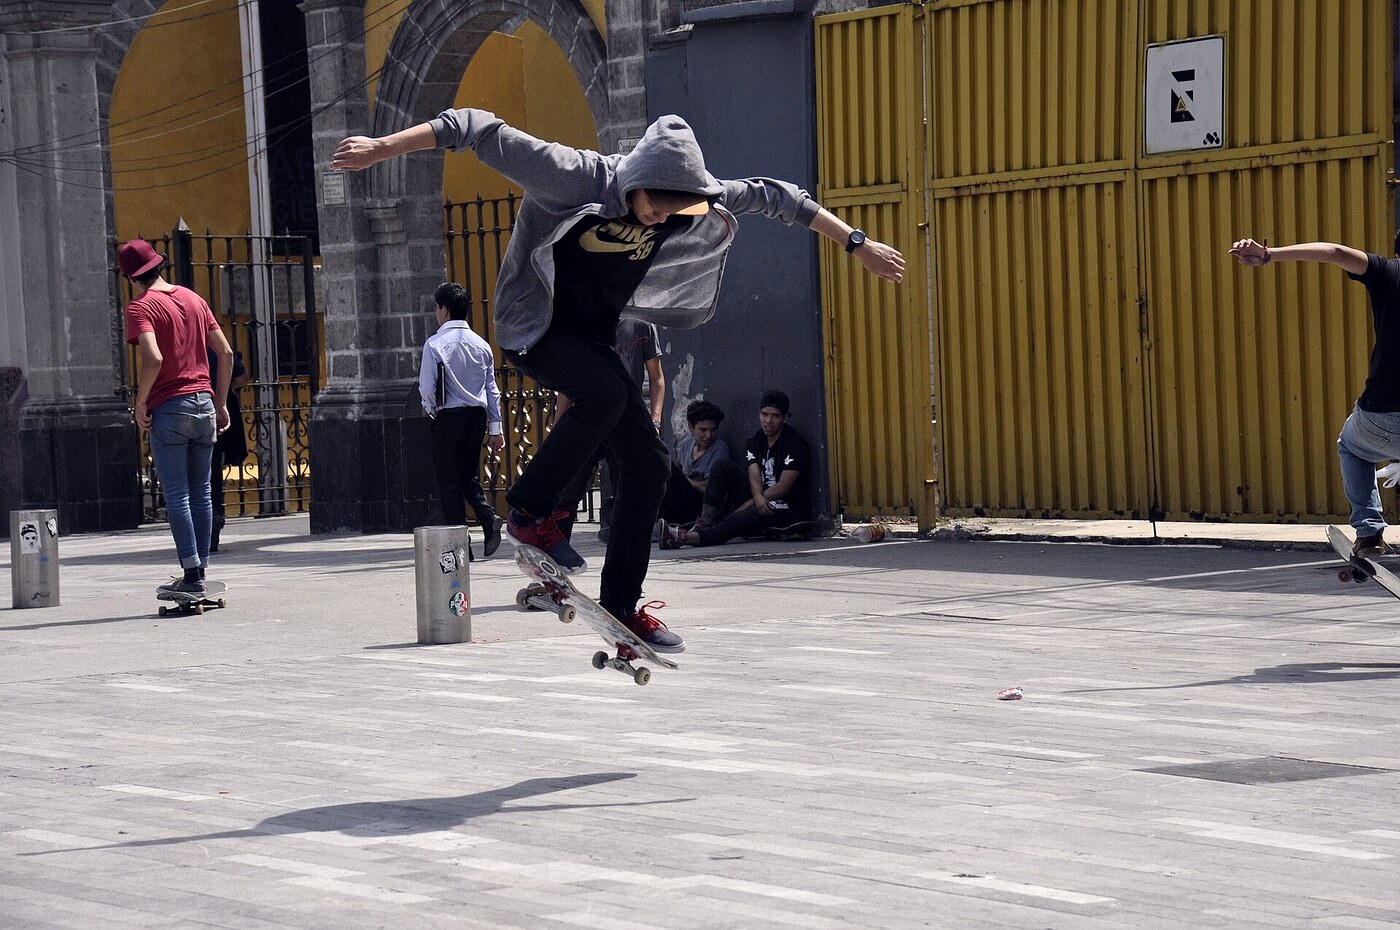
The 4 classic fails
- The board shoots out sideways — you’re not popping straight. Check that your shoulders are parallel to the board when you jump. People twist their torso without realizing it.
- The board barely leaves the ground — your pop is weak or your slide is late. Pop hard, slide fast right after. The two have to be linked.
- You lose the board in the air — your feet come off mid-jump. Stay in contact. The board should stay under your feet; you’re not supposed to launch away from it.
- Sketchy landing — you come down on the tail or the nose and the board shoots out. Always aim for the bolts, bend your knees. Look at your feet as you land, at least in the beginning.
Start stationary, not rolling
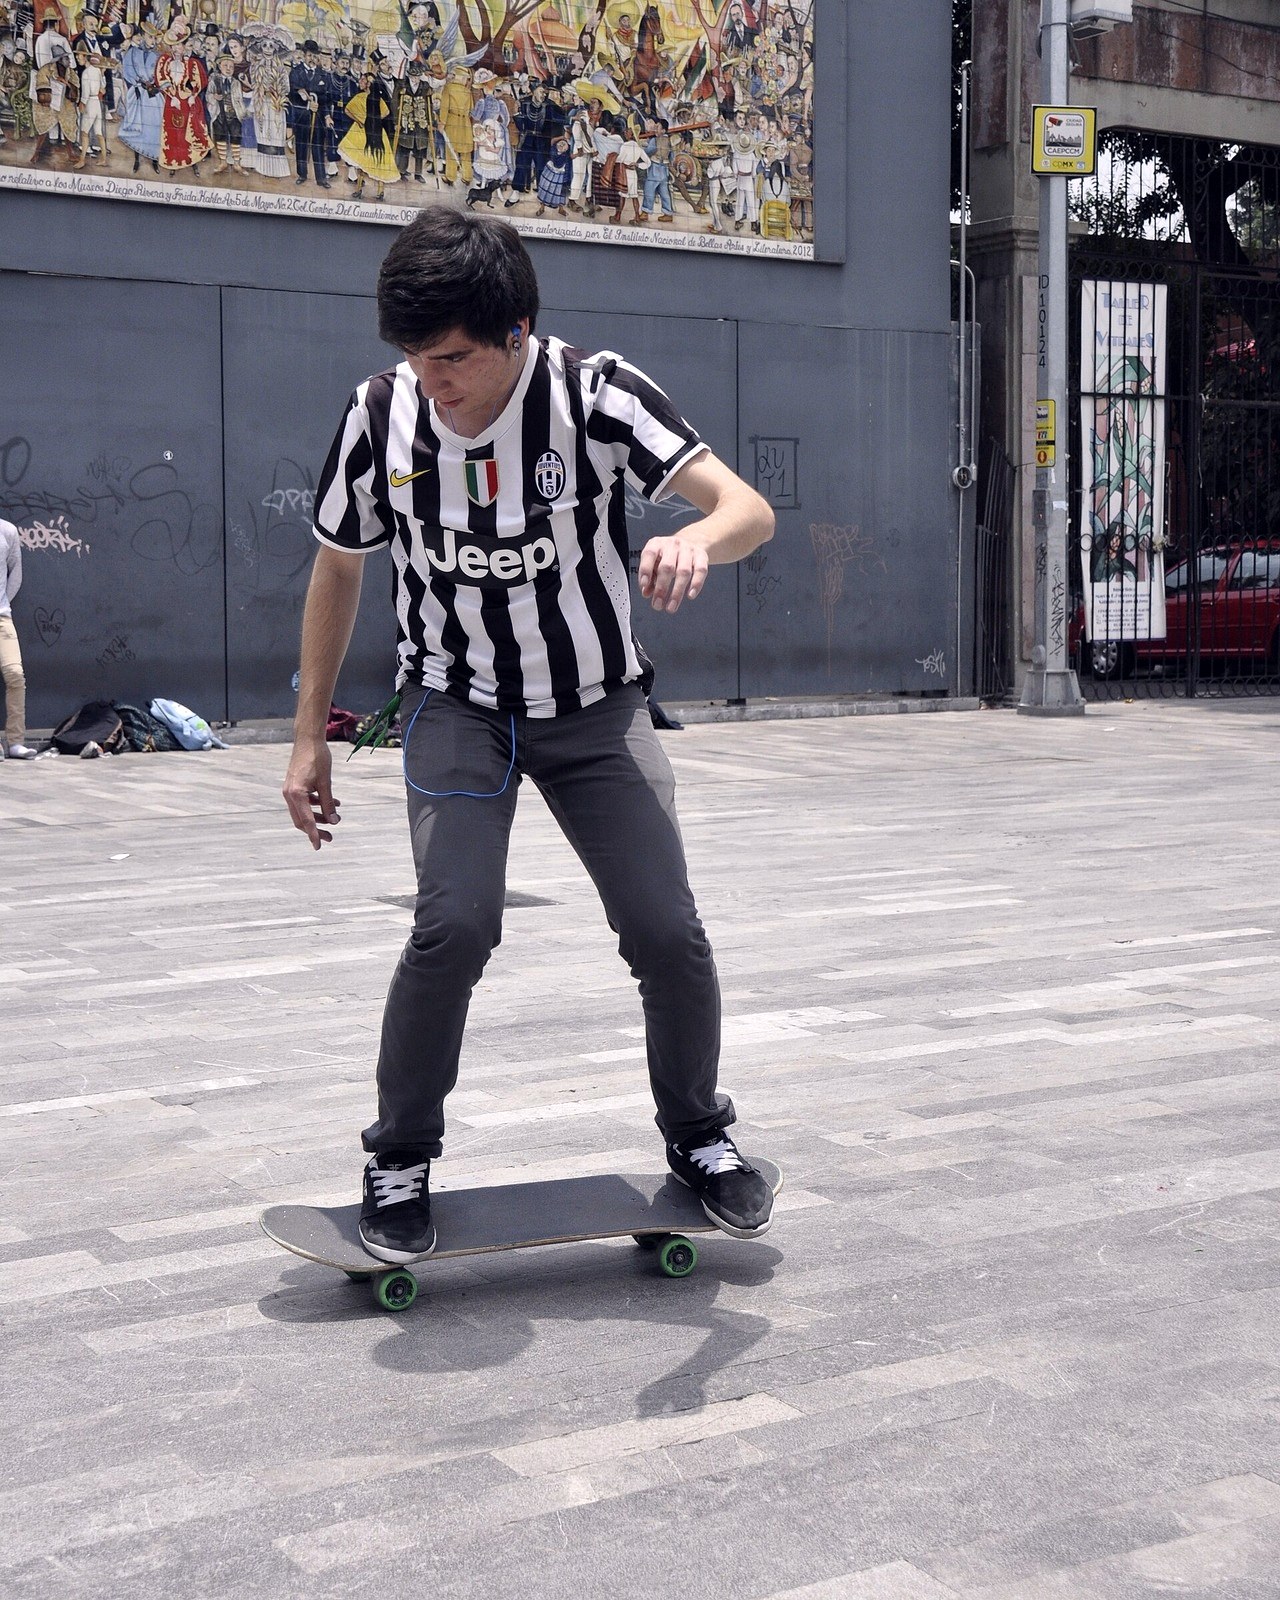
Start standing still. Board on the ground, grass or gravel under the wheels so it can’t move. Run the motion slowly, without trying to get any height. Just feel where the feet go. Three clean landings stationary — only then do you take it rolling.
30 minutes of focused practice are worth more than 3 hours of just messing around with the board. When you feel like throwing it instead of popping it, you stop. You come back in an hour or the next day. The trick doesn’t land when you’re tense.
How long until you actually land one?
The honest range: 4 to 12 hours of focused practice. Some people get it in a day. Others take two months of weekly sessions. Both are normal — it’s not about talent, it’s about the quality of the practice.
If you followed the 6 steps right and it’s been 10 hours with no progress: film yourself. Watch it in slow-mo. Most times, you’ll spot the issue right away—bad foot placement, weak pop, slide coming too late. A fresh set of eyes changes everything.
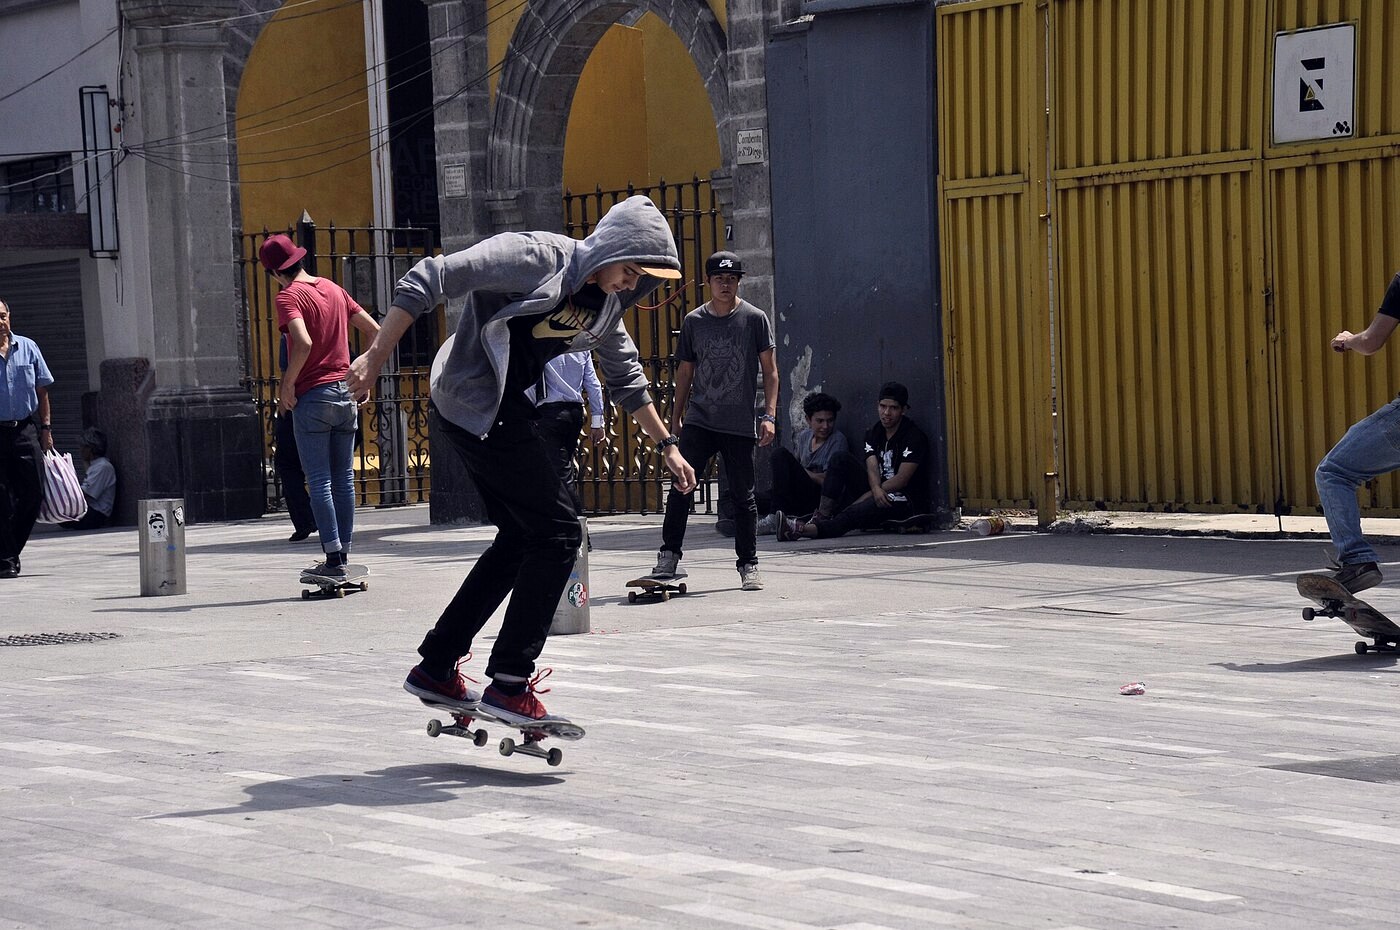
And when you finally land one — really land it, both feet on the bolts, board flat, clean roll away — you’ll get why everybody starts here.
And once it’s locked in?
You flip it around. The nollie gets you popping with the nose, the switch ollie resets you in the other stance. And if a homie’s still stuck on the ollie, show ‘em the no comply—they’ll get it without even knowing how.
Your first ollie, was it a total struggle or did it land right away? How long did it take to nail it? Drop it in the comments ↓
Continue ta lecture
Spots10 spots méconnus de Marseille pour skater
FRENESIn 1978, Alan Gelfand, nicknamed « Ollie, » launched his board without hands. Since then, the ollie has been the foundation of street. But why does the…
Commentaires (0)