
ℹ️ 🛹 Web Média Skate 🛹 ℹ️

★ Conseils
Building your own skateboard: 8 bolts, 8 bearings, and the nut everyone over-tightens
Huit vis, huit roulements, quatre roues et une clé à skate : voilà tout ce qu'il faut pour monter ton skate dans ta chambre. Reste l'ordre, et un écrou qui ruine les roulements des débutants.

→ Pour aller plus loin : Trucks serrés ou lâches : le réglage dépend d’un seul paramètre
Level: Beginner
One deck, two trucks, four wheels, eight bearings, eight bolts. It's all spread out on your bedroom table and the tool is in your hand. Half an hour from now, you either have a board that rolls or a board that squeaks.
Building your own skateboard is the best way to understand it. You'll know how to adjust your trucks, swap a wheel at the park, redo your setup without paying the shop. And when the nearest skate shop is forty minutes away, that matters.
Assembly is not complicated. But the order matters, and there's one nut almost everyone over-tightens the first time. We'll get there.
Avoid the classic mistake
Never bolt your trucks onto a bare deck. Grip tape goes on first, always. Otherwise you have to take everything apart to apply it, and the bolt holes no longer line up with the holes in the grip.
6 steps in order: from bare deck to first roll

At Tactics, a skate shop in Oregon, they build completes all day long. Their video follows the same order as most shops. Here it is, step by step.
- Step 1: lay out your gear — Skate tool, hardware, trucks, wheels, bearings. Check you really have eight bolts and eight nuts before you start.
- Step 2: apply the grip — The deck must be gripped before anything else. The eight holes are poked through the grip from underneath.
- Step 3: push the bolts through — From the top, through the grip and the wood. The bolt head sits on the grip side, the nut on the truck side.
- Step 4: mount the trucks — Kingpins facing the center of the board, toward each other. Tighten in a cross pattern, not one bolt after another.
- Step 5: bearings and wheels — Two bearings per wheel, eight in total, pressed in by hand using the truck axle.
- Step 6: the test — Step on, rock side to side, roll. That's when you fix whatever is off.
8 bolts, 8 nuts: pick your hardware based on your riser
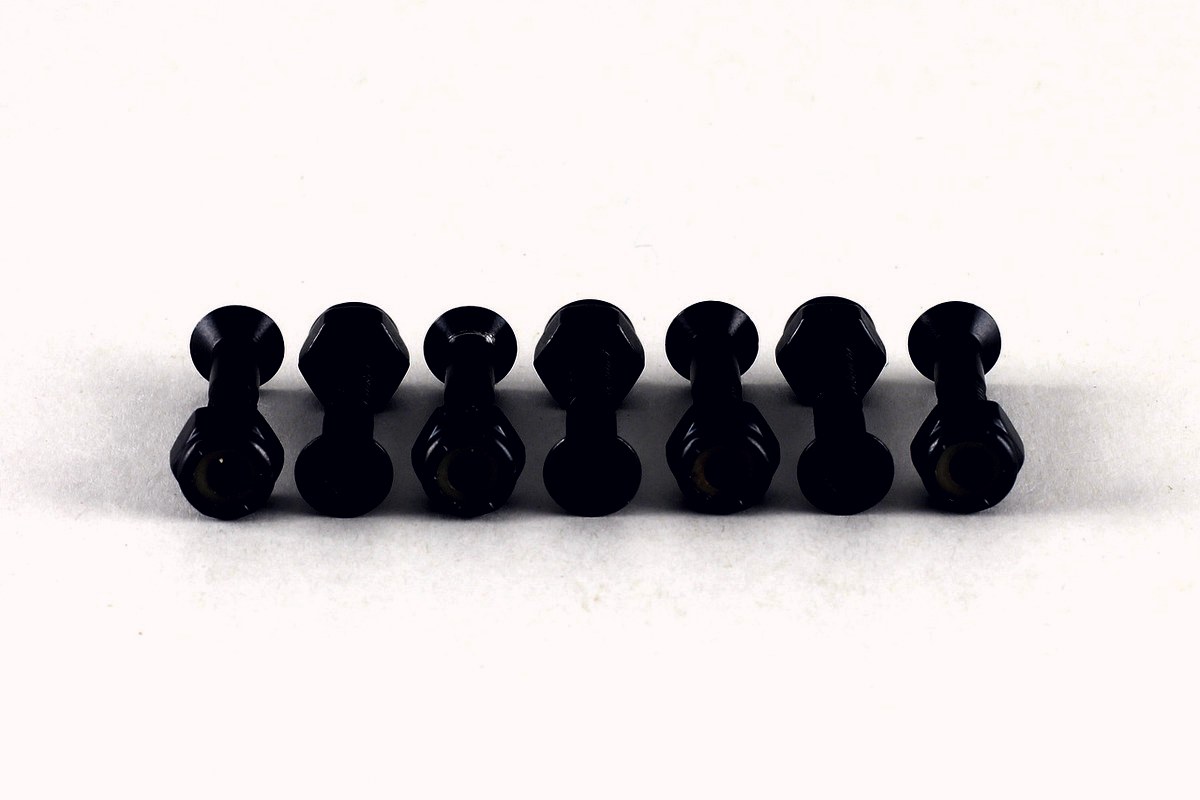
A truck is held by four bolts. Two trucks, eight bolts. They're sold in a pack with their nuts, and it's often the part people forget to buy with the rest.
The length depends on what sits between truck and deck. No riser, 7/8 inch is enough. With a 1/8 riser, go 1 inch. With a 1/4 riser, 1 1/8 inch. Bolts too short barely catch the nut, bolts too long stick out under the baseplate.
Push the bolts in from the top, through the grip. If the holes aren't poked yet, push a screwdriver tip up through each hole from underneath. Then tap the bolt gently so it goes through.
Remember
Visual check for a tight enough bolt: its head sits flush with the grip, without sinking into the wood. If the grip wrinkles around it or the wood cracks, you went too far. Back off a quarter turn.
Trucks: kingpins toward the center, tightened in a cross pattern
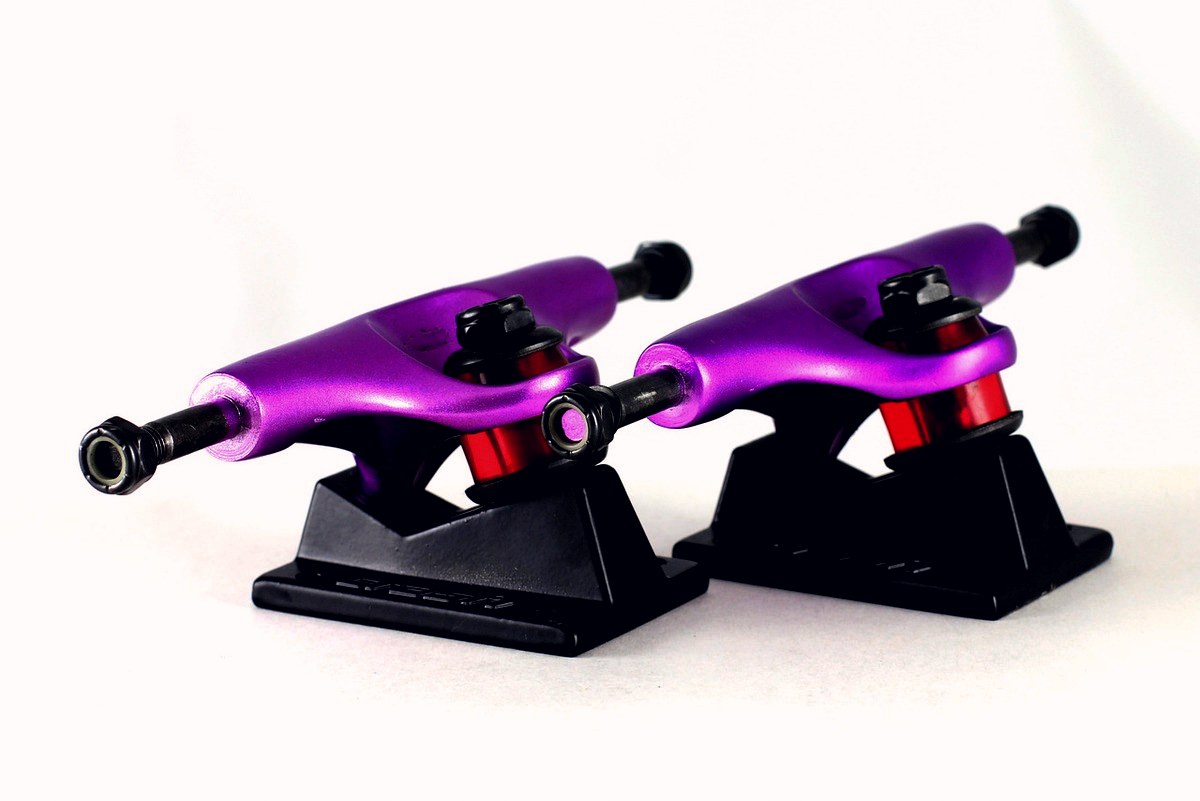
A truck has three parts: the baseplate, bolted to the deck, the hanger, which carries the wheel axle, and the kingpin, the big bolt holding them together.
The mounting rule fits in one sentence: both kingpins face the center of the board. Toward each other. If one is flipped, your board turns badly on one side and you won't know why.
Don't tighten one bolt after another. Go in a cross, like a car wheel: front left, back right, front right, back left. The baseplate sits flat. When it doesn't move a millimeter as you push it, you're done. For sizes and how to choose, it's all in our skateboard truck guide.
8 bearings, size 608: the part born from a 500-dollar bet
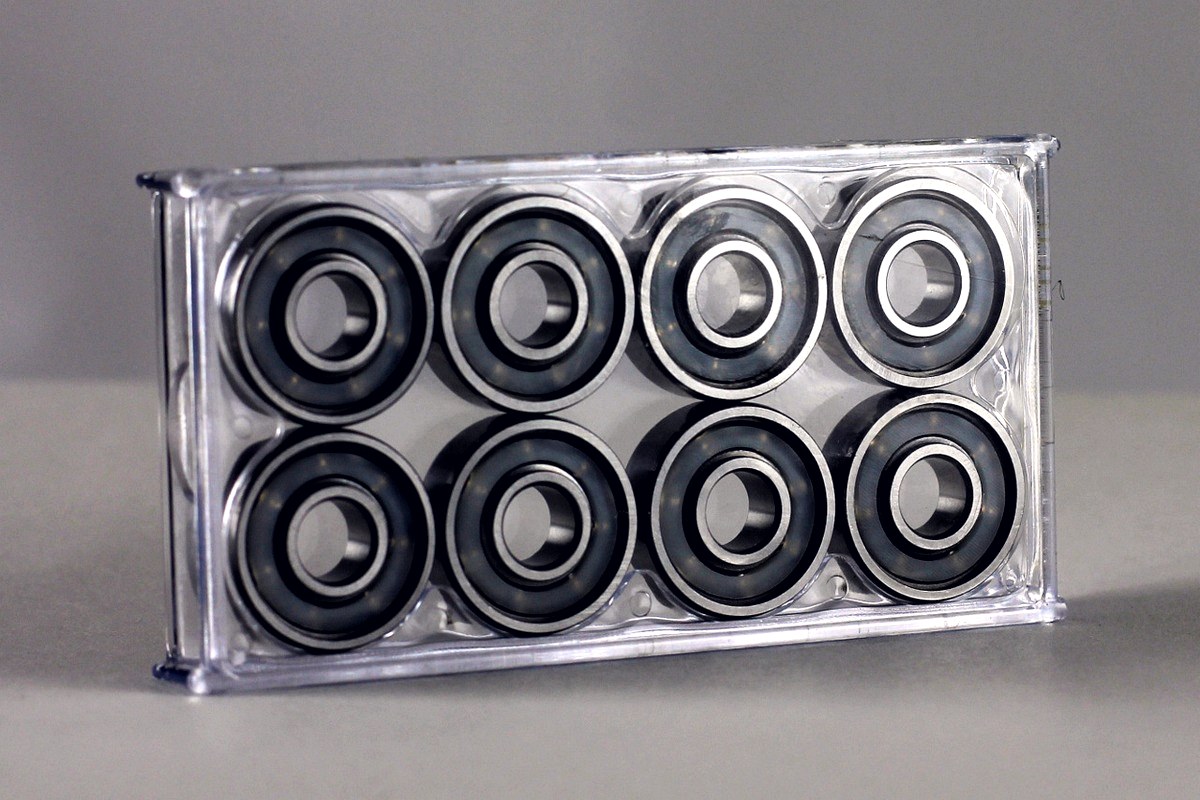
Every skateboard bearing is the same size, the 608: 8 mm bore, 22 mm diameter, 7 mm wide. So there's no way to buy the wrong ones. The ABEC number on the box is about precision, not speed.
A bit of history. In the early 70s, skate wheels are clay or metal, and they grip badly. A man named Frank Nasworthy puts 500 dollars into a urethane wheel, Cadillac Wheels. By 1975, he sells 300,000 sets a year. Then comes the Road Rider, the first wheel with precision bearings. That's the ancestor of what you're holding.
To install: put the bearing on the truck axle, set the wheel on it and press hard. You'll hear a small click. Pull the wheel off, drop the spacer in, then the second bearing on the other side. No special tool needed, the axle is your press. To go further, read our bearing guide.
The nut everyone over-tightens: the axle nut
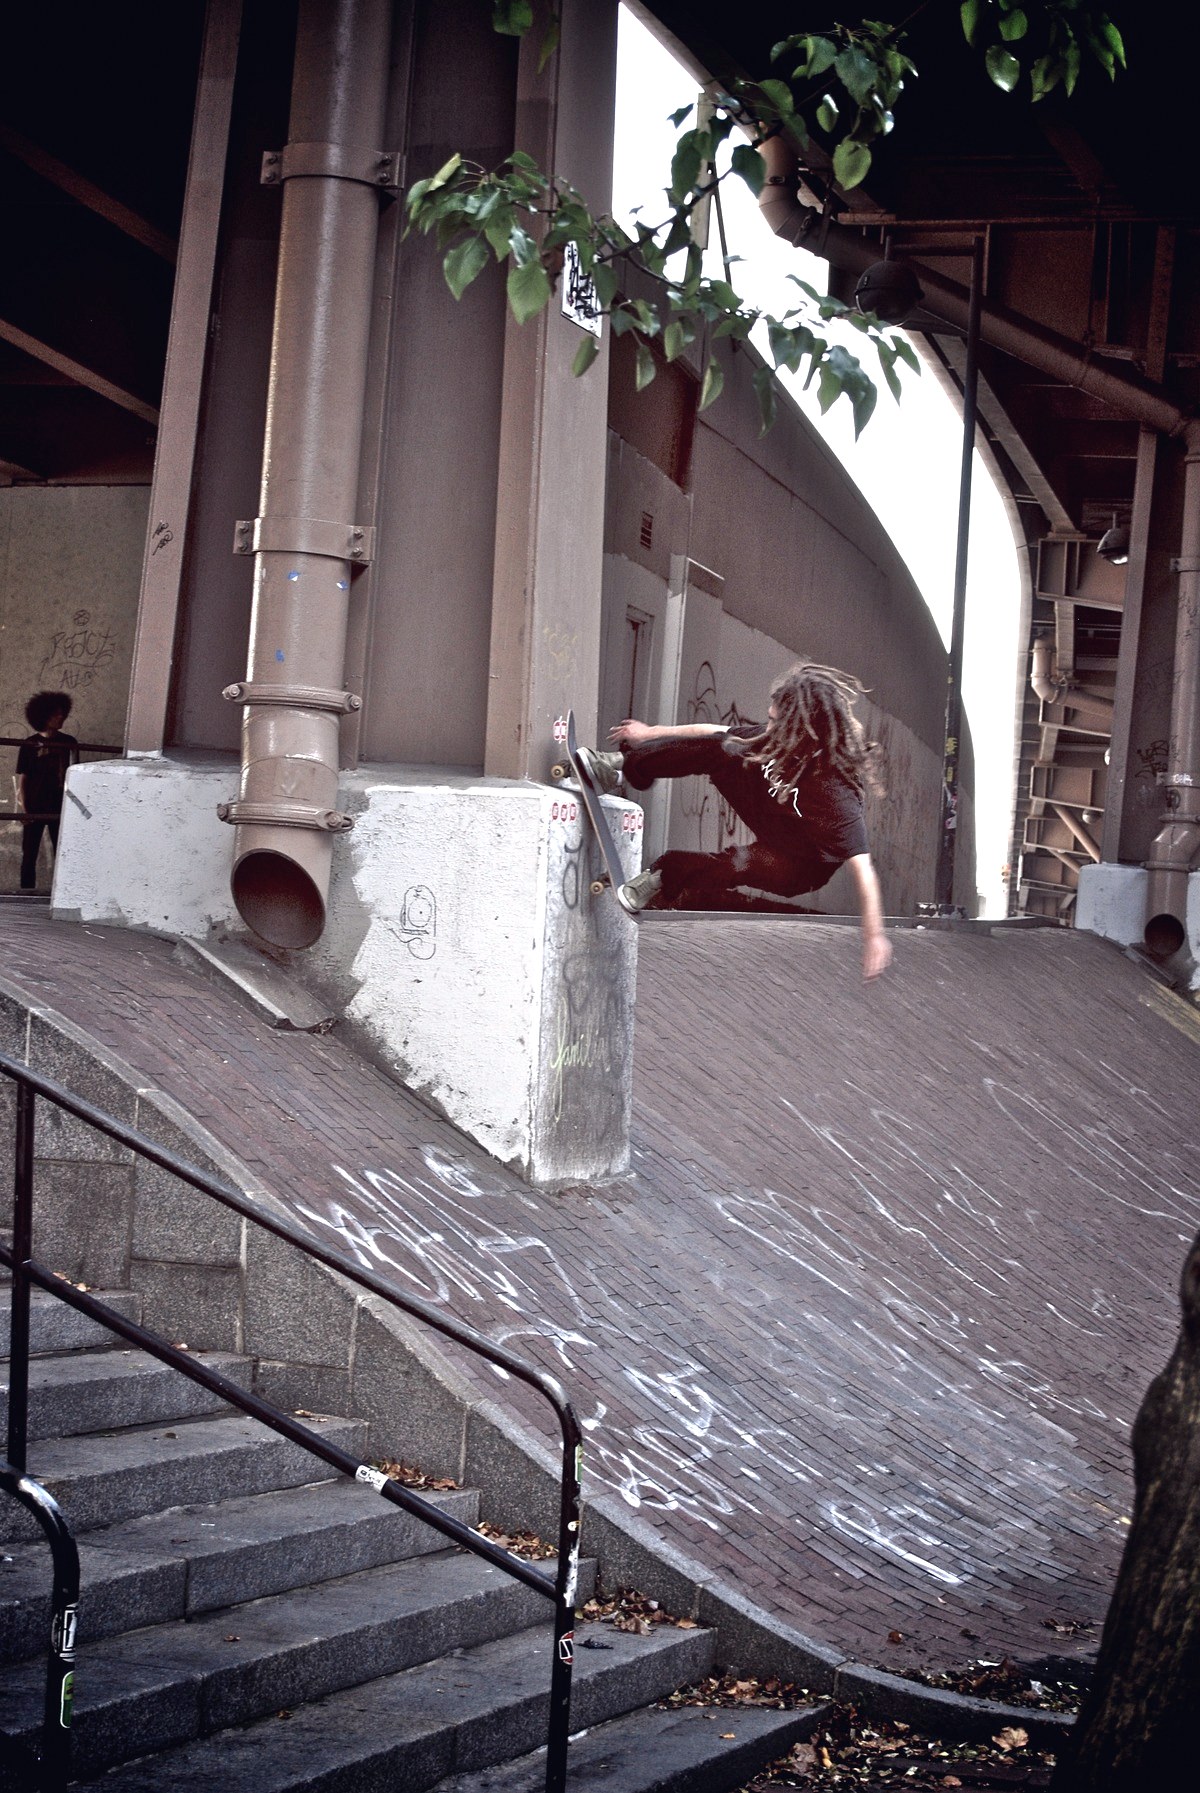
Here's the answer. The nut people over-tighten is the axle nut, at the end of the axle. Everyone's reflex: crank it so the wheel won't come off. Result, the wheel spins three seconds and stops.
Why? An over-tightened nut crushes the bearings against the spacer. They rub, heat up, and wear out fast. American shop guides all say it: don't over-tighten the axle nut, you can destroy your bearings.
The order on the axle: a small washer, the wheel with its two bearings and spacer, a second washer, then the nut. Tighten until the wheel has no side play. Then stop. It should spin freely when you flick it by hand.
And torque values, in newton-meters? No maker or shop gives a number for a skateboard. You tighten by hand, by feel. Bolts: head flush with the grip. Axle nut: no play, but the wheel spins free. Kingpin: set to how loose you like it, more on that just below.
First roll: the 2 tests that tell you if your build is right
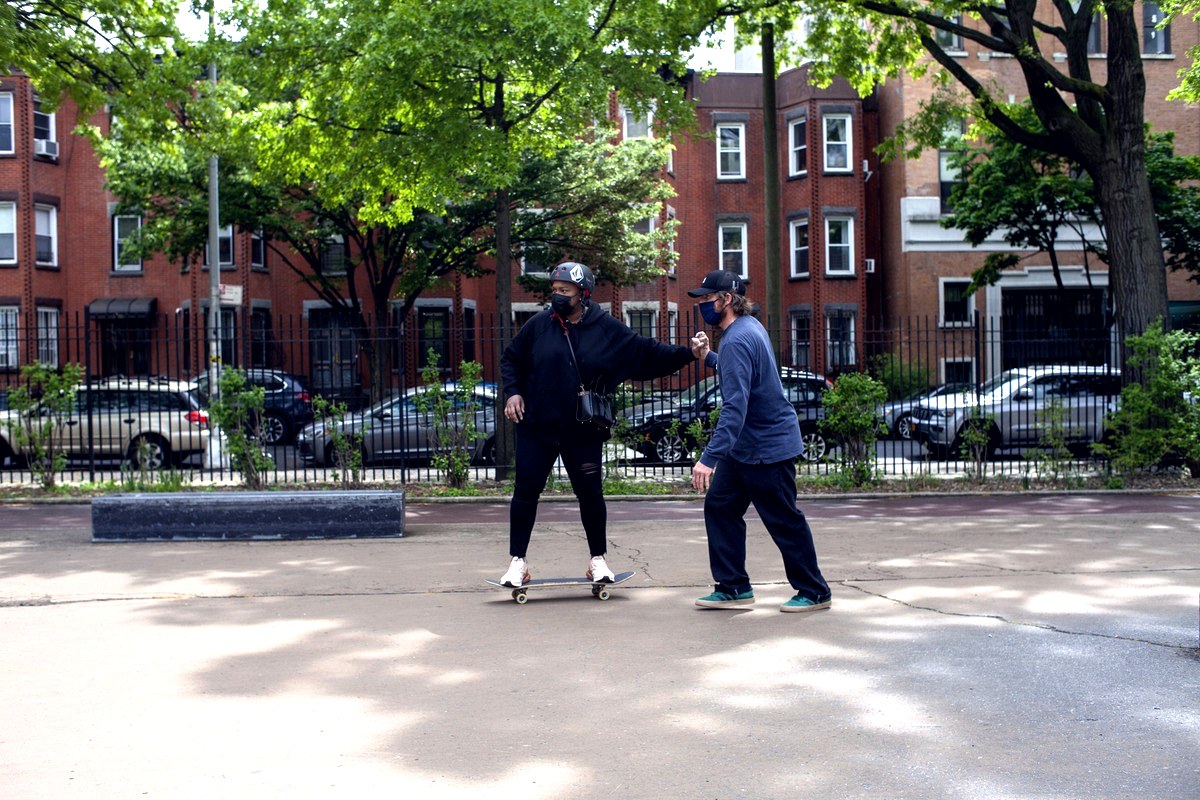
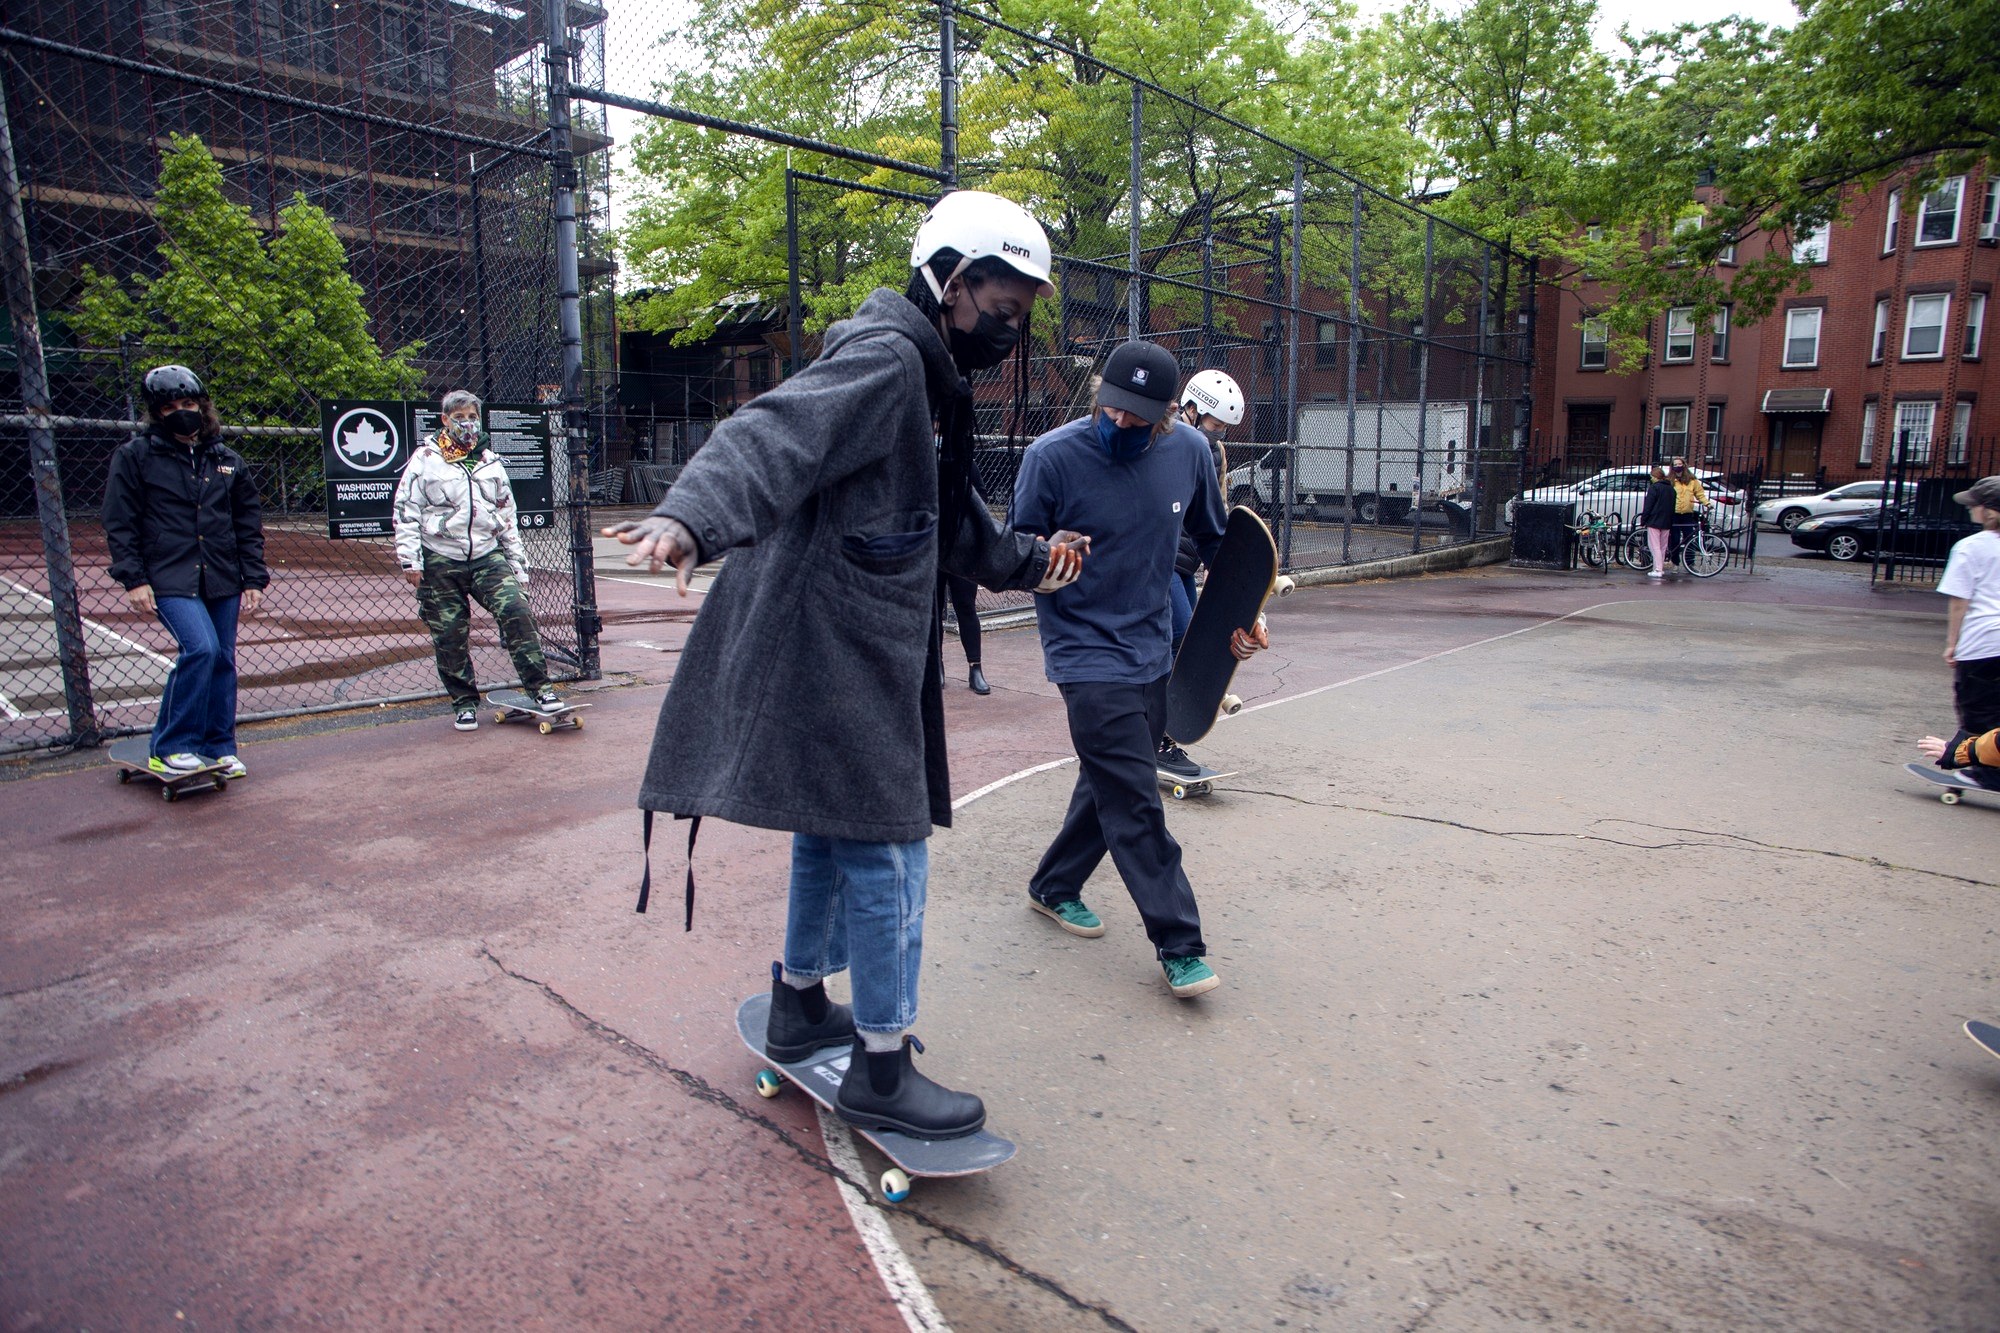
You may have seen Donny Barley in Toy Machine - Welcome to Hell - 1996. He's also the one who helped PJ Ladd get on Element as an amateur. In May 2021, in Brooklyn, he spent the afternoon getting beginners through their first roll. Same move for you: step on, and listen to your board.
Test one, the turn. Standing on the board, rock from one foot to the other. If it barely turns, your trucks are too tight: loosen the kingpin nut counterclockwise, half a turn at a time. If it dives into turns on its own, tighten a bit. All the detail is in our piece on tight or loose trucks.
Test two, the wheel. Flip the board and spin each wheel by hand. It should spin a long time. If it stops fast, it's the axle nut: a quarter turn back. If it wobbles sideways, a quarter turn forward.
FAQ
No skate tool, what do I do?
A Phillips screwdriver and a 3/8 inch wrench handle the deck bolts. For axle nuts and the kingpin you need bigger wrenches, often missing from a European toolbox. A T-shaped skate tool costs a few euros and does it all: the best buy of the whole build.
I forgot the spacers, is that bad?
It still rolls, but the bearings take all the nut pressure and wear faster. If your bearings came with them, use them. If not, no emergency: just set the axle nut even more gently.
How long does a first build take?
Count half an hour, grip included. Second time, ten minutes. What takes time is finding the right socket, not the build.
Is buying parts separately pricier than a complete?
Often a little, but you pick every part and can replace them one by one. We ran the numbers in our piece on the price of a full setup. If you're starting out, a well-chosen deck matters most: read how to pick your first board.
Grip first, kingpins toward the center, cross-pattern tightening, and an axle nut you let breathe. With that order, your first build rolls straight out of your bedroom. Tell us how yours went in the comments.
Have a good ride.
Your first build, which part gave you the most trouble: the grip, the trucks or the axle nut? Tell us in the comments ↓
Le lexique
-
1
Kingpin
Le gros boulon du truck qui relie la baseplate au hanger. Son écrou règle la souplesse des virages.
-
2
Baseplate
La partie du truck vissée sous le deck avec quatre vis.
-
3
Hanger
La pièce en T du truck qui porte l'axe des roues.
-
4
Spacer
Petit tube glissé entre les deux roulements d'une roue pour qu'ils ne soient pas écrasés au serrage.
-
5
Riser
Cale en plastique posée entre le truck et le deck pour monter la planche plus haut.
Shop NOSK8
Voir toute la boutique →
TEE-SHIRTS
TEE-SHIRT NOSK8® NOSKATE #NSITA
Le prix initial était : 35,00 €.29,00 €Le prix actuel est : 29,00 €.
TEE-SHIRTS
TEE-SHIRT NOSK8® P.B HEART #POLARBEAR
Le prix initial était : 35,00 €.29,00 €Le prix actuel est : 29,00 €.

TEE-SHIRTS
TEE-SHIRT NOSK8® I.L.N #ILOVEN8
Le prix initial était : 35,00 €.29,00 €Le prix actuel est : 29,00 €.
TEE-SHIRTS
TEE-SHIRT NOSK8® P.B HEART #NYC
Le prix initial était : 35,00 €.29,00 €Le prix actuel est : 29,00 €.
TEE-SHIRTS
TEE-SHIRT NOSK8® MATRICE HEART #CTRL
Le prix initial était : 35,00 €.29,00 €Le prix actuel est : 29,00 €.

CASQUETTES
CAP NOSK8® P.B #POLARBEAR
Le prix initial était : 35,00 €.25,00 €Le prix actuel est : 25,00 €.

CASQUETTES
CAP NOSK8® N8 #NOSK8
Le prix initial était : 35,00 €.25,00 €Le prix actuel est : 25,00 €.

CASQUETTES
CAP NOSK8® P.B.P #PAW
Le prix initial était : 35,00 €.25,00 €Le prix actuel est : 25,00 €.
HOODIES
HOODIE NOSK8® P.B HEART #NYC
Le prix initial était : 60,00 €.49,00 €Le prix actuel est : 49,00 €.
HOODIES
HOODIE NOSK8® P.B HEART #ORIGINAL
Le prix initial était : 60,00 €.49,00 €Le prix actuel est : 49,00 €.
HOODIES
HOODIE NOSK8® P.B HEART #PHILI
Le prix initial était : 60,00 €.49,00 €Le prix actuel est : 49,00 €.
HOODIES
HOODIE NOSK8® MATRICE HEART #CMD
Le prix initial était : 60,00 €.49,00 €Le prix actuel est : 49,00 €.
HOODIES
HOODIE NOSK8® P.B HEART #POLARBEAR
Le prix initial était : 60,00 €.49,00 €Le prix actuel est : 49,00 €.
SWEAT
SWEAT NOSK8® P.B HEART #BARÇA
Le prix initial était : 45,00 €.39,00 €Le prix actuel est : 39,00 €.
SWEAT
SWEAT NOSK8® P.B HEART #PHILI
Le prix initial était : 45,00 €.39,00 €Le prix actuel est : 39,00 €.
SWEAT
SWEAT NOSK8® P.B HEART #NYC
Le prix initial était : 45,00 €.39,00 €Le prix actuel est : 39,00 €.
SWEAT
SWEAT NOSK8® P.B HEART #PARIS
Le prix initial était : 45,00 €.39,00 €Le prix actuel est : 39,00 €.
SWEAT
SWEAT NOSK8® P.B HEART #POLARBEAR
Le prix initial était : 45,00 €.39,00 €Le prix actuel est : 39,00 €.

Continue ta lecture
ConseilsApprendre le pop shove-it : le trick sous-côté qui débloque tout
Placement des pieds, timing du scoop, erreurs classiques : le guide débutant complet pour réussir ton premier pop shove-it.
Commentaires (0)