
ℹ️ 🛹 Web Média Skate 🛹 ℹ️

★ Conseils
Grip Your Skateboard Without a Single Bubble: the 6-Minute Method
Six minutes, un cutter et un tournevis suffisent. Tout se joue sur un geste de dix secondes que presque tout le monde rate la première fois.
→ Pour aller plus loin : Trucks serrés ou lâches : le réglage dépend d’un seul paramètre
Level: Beginner
Your new deck is on the table, the grip sheet right next to it. Six minutes from now you'll either have a board as smooth as glass, or an air bump under your front foot that you'll feel on every ollie.
Good news: you don't need a workshop to grip a board. A box cutter, a screwdriver, a rag. Stuff that's already in a kitchen drawer.
Bad news: there's one move almost everybody gets wrong the first time. Not the cutting. Something that happens in ten seconds, right before.
Dodge the classic mistake
Grip goes on once. Peel it off to redo it and the glue picks up dust while the sheet warps: the second try is always worse than the first. Read everything before you pull the backing paper.
6 steps, 6 minutes: the grip job, timed

At Tactics, a skate shop in Eugene, Oregon, they grip boards all day long. Their video shows the pace: no rushing, but no stopping either. Here's the same routine, timed.
- 1 minute: clean the deck — Wipe the whole top with a dry rag. One speck of dust under the grip is a bump you keep until the board is done.
- 30 seconds: lay the sheet — This is the step that decides everything about bubbles. More on it below, because that's where it all happens.
- 1 minute: push the air out — Palm flat, smooth it down. Not with your fingertips: that leaves ripples.
- 1 minute: mark the edge — Rub around the edge of the deck with a screwdriver shaft. A white line shows up: that's your cutting guide.
- 2 minutes: cut — Fresh blade, board on its side, follow the white line in one stroke per side.
- 30 seconds: poke the bolt holes — From underneath, push the tip of a screwdriver through all eight holes in the deck.
Rag, cutter, screwdriver: the whole workshop fits on a kitchen table
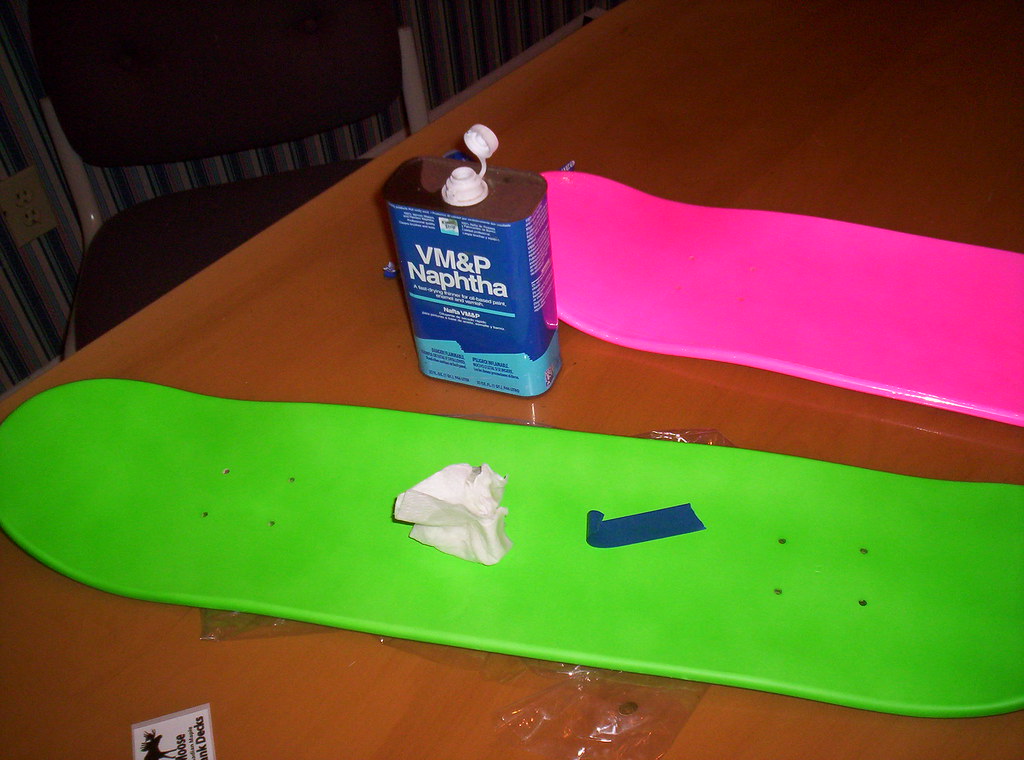
Lay the deck flat, graphic facing down. Take the trucks off if they're already on: you can't cut clean with bolts sticking out.
The rag is for wood dust and the greasy film new decks sometimes have. A dry rag does it. If it's damp, wait until the wood is fully dry, or the glue won't stick.
The cutter is where you don't cheap out: a fresh blade. Snap off the tip before you start. A dull blade tears the grip instead of slicing it, and the edge ends up jagged.
The screwdriver does two jobs: marking the edge, then poking the holes. Any one works, as long as the shaft is hard and smooth.
Keep in mind
When it's cold, grip glue stiffens and won't bite. Lay the sheet in a heated room, or hit the sticky side with a hair dryer for twenty seconds. The grip gets soft and follows the curve of the board better.
The sheet is 33 inches: the deck is shorter, and that's the point
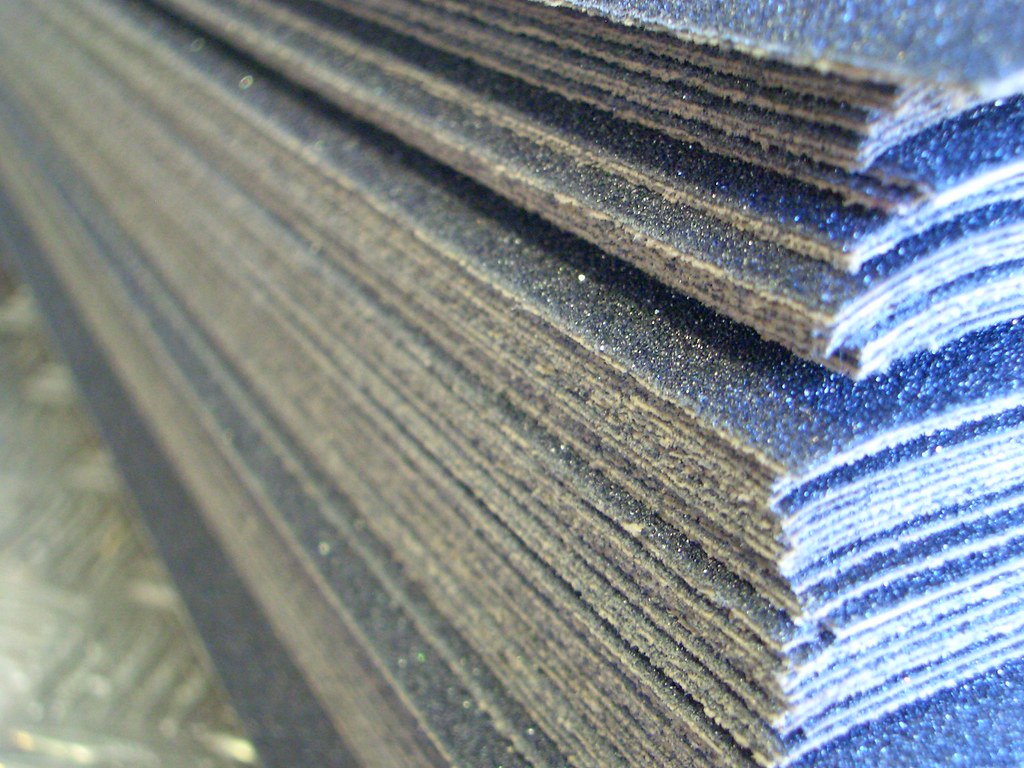
A standard sheet of grip tape is 9 by 33 inches. Mob Grip also sells 10 × 33 for wide decks. Your deck is somewhere between 7.75 and 8.5 inches wide if you followed our guide to choosing your first board.
That overhang on the sides and both ends is your safety net. You don't need to aim to the millimetre. You just need the sheet to stick out everywhere.
Before you pull the backing, hold the sheet dry over the deck. Check where the nose and the tail land. If your grip has a logo, now's when you decide if it's going on straight.
Then peel the whole backing off. Hold the sheet by its two short ends, sticky side down. And this is where most people mess up.
The move everyone gets wrong: lay your grip curved, never flat
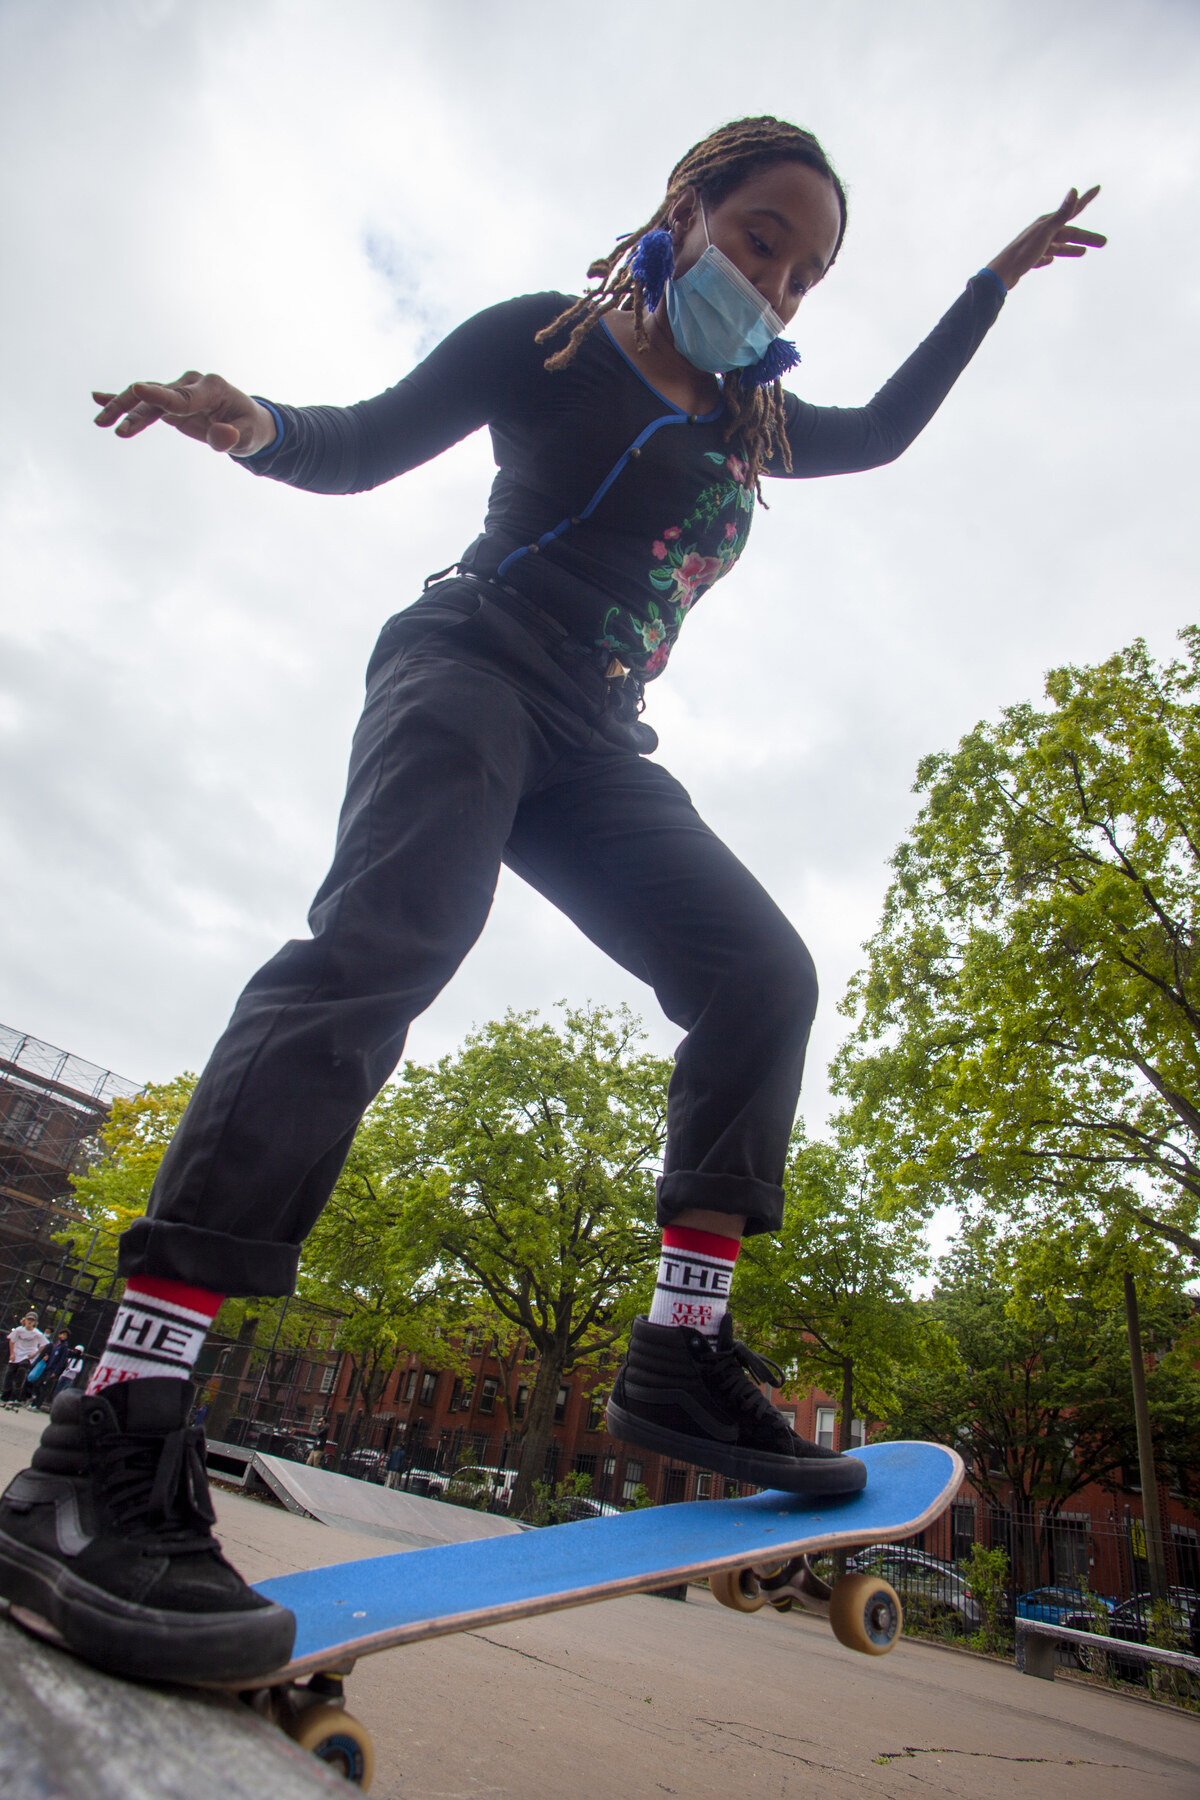
Beginner reflex: hold the sheet tight and drop it flat on the deck. Result: the grip touches everywhere at once. The air has nowhere to go and gets trapped, mostly in the dip in the middle of the board.
The right way fits in one picture: the sheet makes a U. Hold it by the ends, hands a little closer together, so it hangs in an arc. The first point of contact is the centre of the deck. Right there, between the two sets of bolt holes.
Then you roll it down. Palm flat, start from the centre and push towards the nose. Back to the centre, push towards the tail. Then from the centre out to each edge. The air always moves ahead of your hand, towards a spot that isn't stuck yet. It escapes out the sides on its own.
That's the whole secret, and it's why laying the sheet only takes thirty seconds. Grip doesn't get stuck on, it gets rolled on. No bubbles possible, because the air never gets trapped.
Last pass: press hard along the concave, the dip that runs from edge to edge. That's where grip most often peels after a few weeks, because the sheet bridged the dip instead of following it.
Cutting and bolt holes: 2 minutes 30 for a clean finish
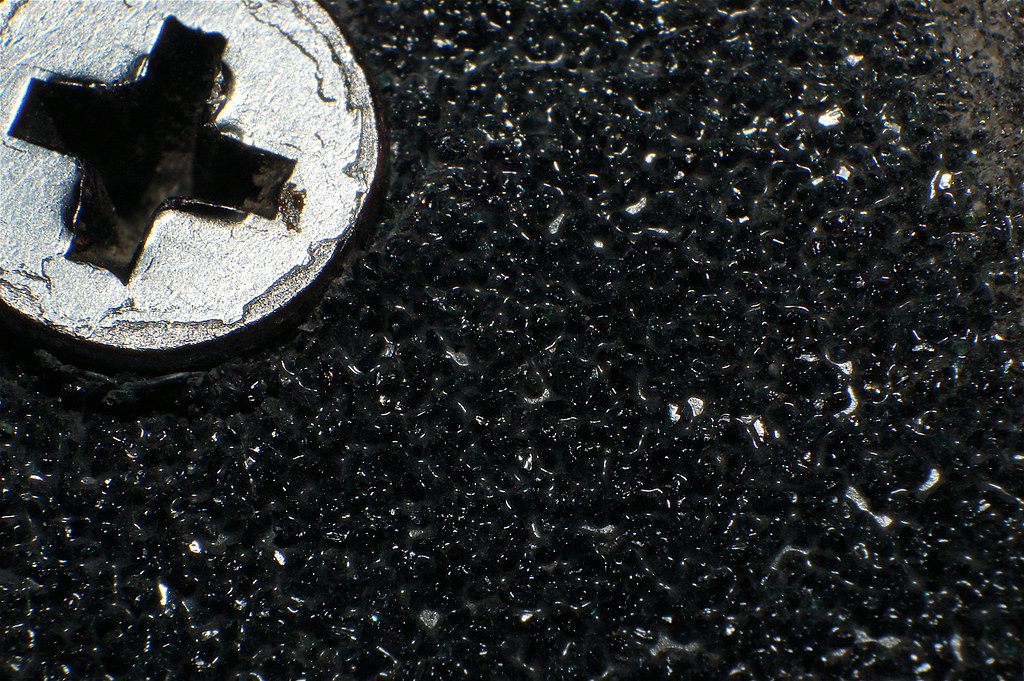
Take your screwdriver and rub the shaft along the edge of the deck, all the way round, over the grip. The grit scrapes off and leaves a sharp white line. That line is the exact outline of your board.
Next, stand the deck on its side, grip facing you. Push the blade into the overhang near the tail and angle it slightly towards the wood. Follow the white line pulling towards you, never pushing. One side, then the other. The nose and tail are rounded: slow down in the curves and let the blade follow the wood.
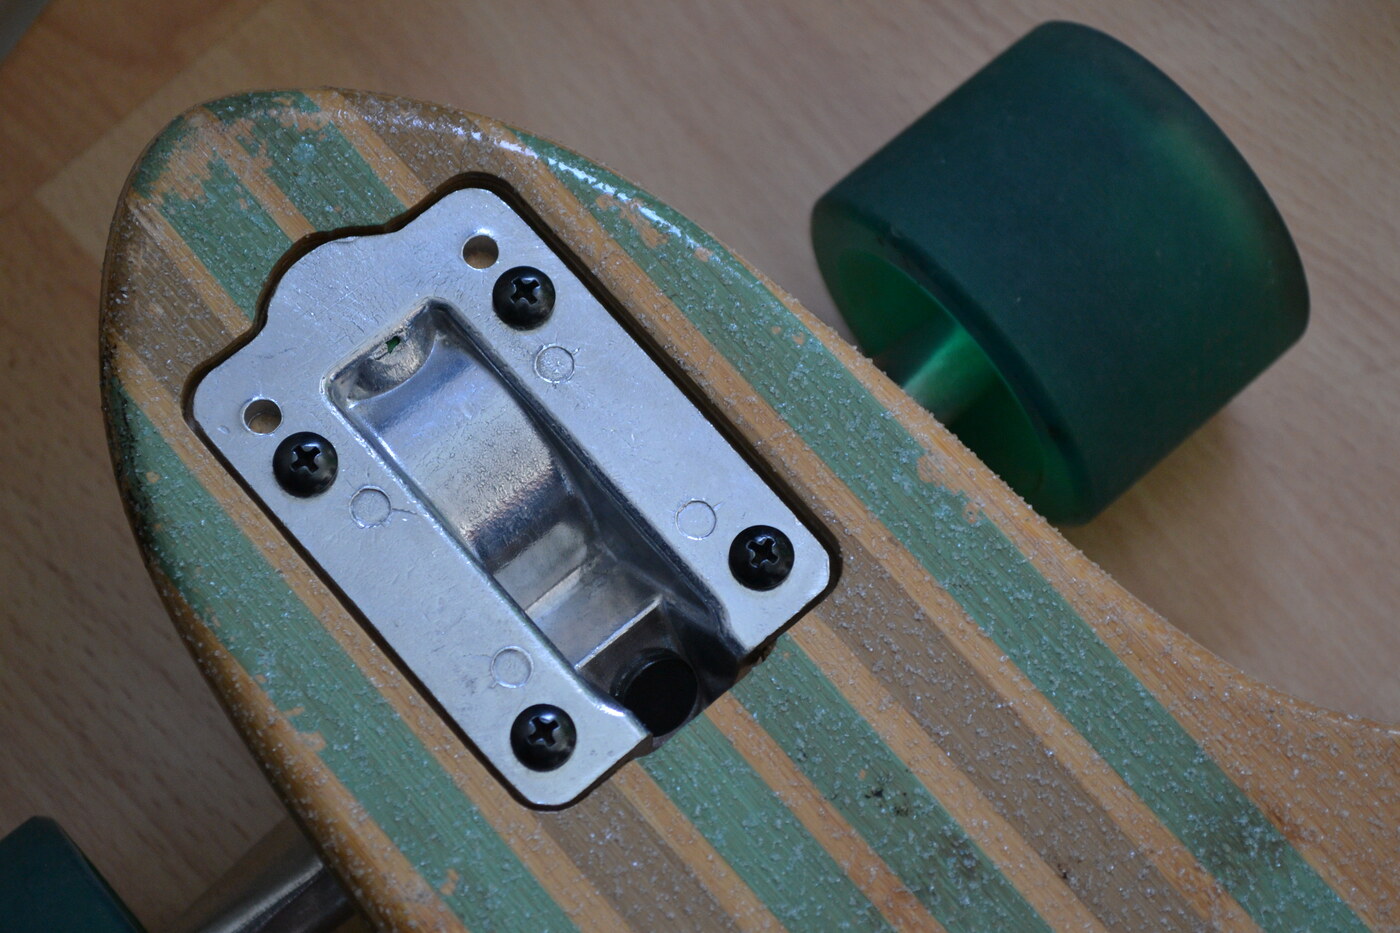
If the cut leaves little fuzzy bits on the edge, run the screwdriver shaft over it again. The edge rounds off and stops catching your jeans.
For the holes, flip the board. From underneath, push the screwdriver tip through each of the deck's eight holes and through the grip. Put the trucks back on and the bolts slide in easy. If your board ever gets soaked, go back over our tips to protect your gear from moisture: wet grip is the first thing to peel.
FAQ
I still got a bubble, what do I do?
Whatever you do, don't peel the grip. Prick the middle of the bubble with the cutter tip, a tiny hole. Then smooth it with your palm from the edge of the bubble towards the hole: the air comes out, the grip sticks back down. After one session you won't see the hole.
How long before I can ride it?
Right away. Grip glue is a contact adhesive, not something that has to dry. If you gripped it in the cold, still leave the board inside overnight before the first session.
Can the shop grip it for me?
Yes, and most skate shops do it for free when you buy the deck there. Watch how they do it: best way to learn for next time.
My grip is worn, can I stick a new one on top?
No. Two layers means a heavier board and an edge that peels within days. Heat the old grip with a hair dryer so it comes off much easier, then clean the wood before regripping.
Six minutes, a cutter and a sheet laid in a U: your board is ready. The first grip job is rarely perfect, and that's fine. By the second one you'll do it without the video. Show us how it turned out in the comments.
Ride on.
Your first grip job: how many bubbles did it end up with? And how did you get rid of them? Tell us in the comments ↓
Le lexique
-
1
tail
L'arrière relevé de la planche, celui sur lequel tu tapes pour faire décoller le deck.
-
2
concave
Le creux de la planche d'un bord à l'autre, qui aide le pied à accrocher et à guider la planche.
-
3
nose stall
Figure où tu bloques la planche sur son nez, roues avant posées sur le rebord, avant de repartir.
Shop NOSK8
Voir toute la boutique →
TEE-SHIRTS
TEE-SHIRT NOSK8® NOSKATE #NSITA
Le prix initial était : 35,00 €.29,00 €Le prix actuel est : 29,00 €.
TEE-SHIRTS
TEE-SHIRT NOSK8® P.B HEART #POLARBEAR
Le prix initial était : 35,00 €.29,00 €Le prix actuel est : 29,00 €.
TEE-SHIRTS
TEE-SHIRT NOSK8® I.L.N #ILOVEN8
Le prix initial était : 35,00 €.29,00 €Le prix actuel est : 29,00 €.
TEE-SHIRTS
TEE-SHIRT NOSK8® P.B HEART #NYC
Le prix initial était : 35,00 €.29,00 €Le prix actuel est : 29,00 €.
TEE-SHIRTS
TEE-SHIRT NOSK8® MATRICE HEART #CTRL
Le prix initial était : 35,00 €.29,00 €Le prix actuel est : 29,00 €.
CASQUETTES
CAP NOSK8® P.B #POLARBEAR
Le prix initial était : 35,00 €.25,00 €Le prix actuel est : 25,00 €.
CASQUETTES
CAP NOSK8® N8 #NOSK8
Le prix initial était : 35,00 €.25,00 €Le prix actuel est : 25,00 €.
CASQUETTES
CAP NOSK8® P.B.P #PAW
Le prix initial était : 35,00 €.25,00 €Le prix actuel est : 25,00 €.
HOODIES
HOODIE NOSK8® NOSKATE #NSITA
Le prix initial était : 60,00 €.49,00 €Le prix actuel est : 49,00 €.
HOODIES
HOODIE NOSK8® P.B HEART #BARÇA
Le prix initial était : 60,00 €.49,00 €Le prix actuel est : 49,00 €.
HOODIES
HOODIE NOSK8® P.B CENTRE #ORIGINAL
Le prix initial était : 60,00 €.49,00 €Le prix actuel est : 49,00 €.
HOODIES
HOODIE NOSK8® P.B HEART #PARIS
Le prix initial était : 60,00 €.49,00 €Le prix actuel est : 49,00 €.
HOODIES
HOODIE NOSK8® P.B HEART&BACK #ORIGINAL
Le prix initial était : 60,00 €.49,00 €Le prix actuel est : 49,00 €.
SWEAT
SWEAT NOSK8® P.B HEART #BARÇA
Le prix initial était : 45,00 €.39,00 €Le prix actuel est : 39,00 €.
SWEAT
SWEAT NOSK8® P.B HEART #PHILI
Le prix initial était : 45,00 €.39,00 €Le prix actuel est : 39,00 €.
SWEAT
SWEAT NOSK8® P.B HEART #NYC
Le prix initial était : 45,00 €.39,00 €Le prix actuel est : 39,00 €.
SWEAT
SWEAT NOSK8® P.B HEART #PARIS
Le prix initial était : 45,00 €.39,00 €Le prix actuel est : 39,00 €.
SWEAT
SWEAT NOSK8® P.B HEART #POLARBEAR
Le prix initial était : 45,00 €.39,00 €Le prix actuel est : 39,00 €.
Continue ta lecture
ChroniquesEric Koston a quitté Lakai après 3 ans : 17 ans plus tard, qui a vraiment perdu ?
Trois ans chez Lakai, des parts dans la marque, une part dans Fully Flared. Et en avril 2009, Koston file chez Nike SB. Qui y…
Commentaires (0)